To mount Petcube Bites 2 stucco wall no damage, skip the drill and use one of three renter-safe methods: heavy-duty removable adhesive strips rated for rough surfaces (3M Command Outdoor XL or VHB foam tape on a primer pad), a floor-to-ceiling tension pole with a camera shelf, or a stucco-anchor-free corner shelf braced against an adjacent smooth surface. The Petcube Bites 2 weighs roughly 1.6 lb with the treat hopper loaded, and the included wall plate normally requires two anchored screws. Drilling textured stucco creates spiderweb cracks that are nearly impossible to patch invisibly, so a no-drill approach is almost always the smarter call in 2026.
Why textured stucco is the worst-case wall for cameras
Stucco is a cement-based render applied over wire lath. The textured finish coat (knockdown, lace, dash, or Santa Barbara smooth-trowel) hides a brittle 1/8–inch surface layer that fractures when a screw bites in. Even a small anchor hole spalls outward, leaving a crater that paint touch-up cannot disguise. Worse, the lath underneath can vibrate when a pet camera is bumped, loosening the anchor over weeks of treat-tossing recoil.

That recoil matters more than people expect. The Petcube Bites 2 launches kibble with a small spring-loaded mechanism, and every toss transmits a brief lateral force into the mount. On drywall this is invisible. On stucco, it widens micro-cracks. So the goal when you mount Petcube Bites 2 stucco wall no damage is two-fold: zero penetration of the finish coat, and a vibration-tolerant attachment that survives the toss cycle.
Method 1: Heavy-duty adhesive on a smoothing primer pad
Standard Command strips fail on textured stucco because the adhesive only contacts the high points of the texture—maybe 15% of the rated surface area. The fix is to create a smooth bonding island first.
- Cut a 4×4 inch square of 1/8-inch acrylic, ABS plastic, or even a sanded ceramic tile.
- Bond it to the stucco using removable mounting putty (Loctite Fun-Tak or UGlu Dashes) pressed firmly into the texture valleys. This creates a low-tack bridge that releases cleanly months later.
- Once the smoothing pad is set, apply 3M VHB foam tape or Command Picture Hanging Strips XL to the smooth pad face.
- Mount the Petcube’s wall plate (or a magnetic quick-release plate) to the tape.
This sandwich isolates the stucco from any peel force. When you eventually move out, the putty layer rolls off the texture without taking grit with it. We rate this method to about 3 lb of static load on a properly cleaned surface—roughly double the Bites 2’s loaded weight.
Method 2: Tension pole or freestanding camera stand
If the stucco wall in question is interior (a popular finish in Southwest homes and many 1970s ranches), a spring-loaded shower-curtain tension rod placed in a corner can carry a small shelf. Bolt the Petcube’s mounting plate to a 5×5 inch wood disc, then clamp the disc to the tension pole with a microphone-stand-style boom arm. Total cost is under $40 and there is literally zero contact with the wall.
For exterior covered patios where you want a pet view of the yard, a freestanding tripod (a weighted speaker stand works) sets up in minutes and rolls away when you entertain. This is the only option we recommend for tenants whose lease explicitly forbids any wall attachment.
Method 3: Borrow a stud from an adjacent surface
Many stucco walls meet a drywall return at door frames, window jambs, or interior corners. If the camera’s ideal sightline is within 18 inches of that transition, anchor a shallow shelf to the drywall side and let it cantilever over the stucco. The Petcube sits on the shelf, the stucco stays untouched, and you only patch a couple of drywall screw holes when you move.
What if you give up on the Bites 2 entirely?
Sometimes the cleanest answer is a camera that doesn’t need wall mounting at all. The Petcube Bites 2 is excellent for treat-tossing, but if your only requirement is monitoring and two-way talk, a tabletop pan-tilt camera placed on a bookshelf gives you the same visibility with no mounting headache. Below are the cameras we most often recommend to renters and stucco-home owners who have written off drilling.
![Furbo 360° Dog Camera [Subscription Required] Unlock w/Paid Plan: Home Security & Dog Safety Alerts, Rotating Pet Treat To...](https://petmonly.com/aimg/images/I/616ls3MuEGL._AC_SL1500_.jpg)
Comparison: no-drill pet camera alternatives in 2026
| Camera | Weight | Resolution | Mount style | Best for stucco homes |
|---|---|---|---|---|
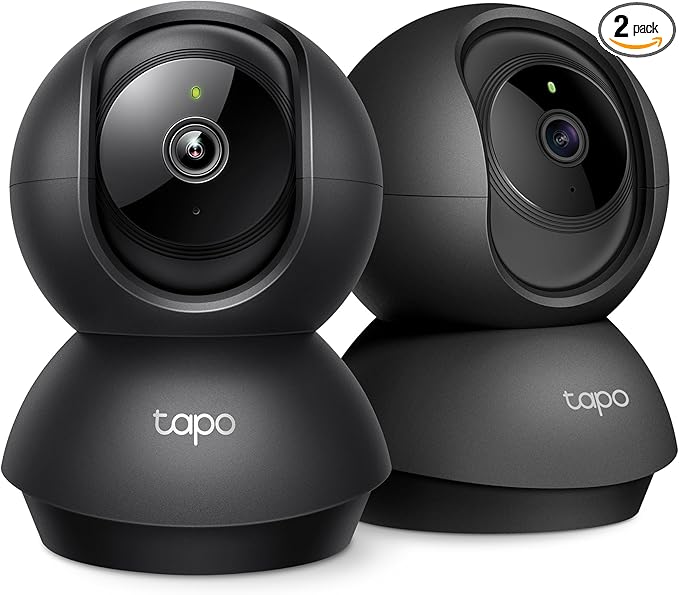
| Tapo 2K Pan/Tilt | 0.45 lb | 2K (2304×1296) | Tabletop or ceiling | Renters wanting full-room pan/tilt |
| eufy E30 Indoor 4K | 0.55 lb | 4K UHD | Tabletop + AI tracking | Owners who want sharp zoom on pets |
| Ring Indoor Cam (2nd Gen) | 0.30 lb | 1080p HD | Tabletop or single-screw mount | Existing Ring/Alexa households |
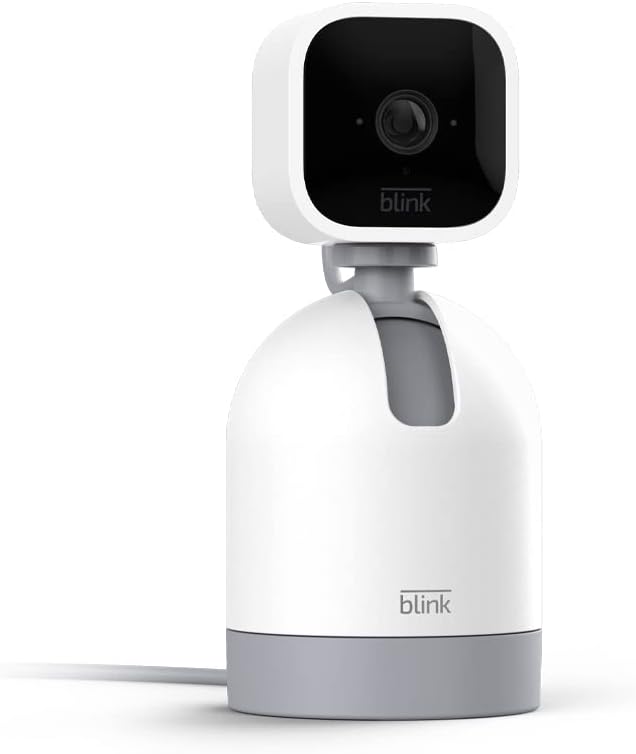
| Blink Mini 2K+ | 0.18 lb | 2K | Plug-in, sits anywhere | Smallest footprint, lowest cost |
| Furbo 360° | 2.1 lb | 1080p | Floor / table only | Dog owners wanting treat toss like Bites 2 |
Tapo 2K Pan/Tilt Indoor Camera
If you want a true replacement for the Bites 2’s field of view without ever touching the stucco, the Tapo C225-class pan/tilt cam covers 360° horizontal sweep from a side table. It tracks motion automatically, supports microSD recording with no subscription, and weighs less than half a pound—light enough that even our Method 1 adhesive pad holds it indefinitely if you do want a wall position later. Check the Tapo 2K Pan/Tilt on Amazon.
eufy Security 4K Indoor Camera E30
The eufy E30 is our pick when you want to see a Chihuahua’s tail wag from across a great room. 4K resolution with AI subject tracking means you can park it on a console table 15 feet away and digitally crop in without losing detail—useful when the stucco wall you wanted to drill is across the room from where the dog actually hangs out. No subscription required for local storage. See the eufy E30 4K on Amazon.
Ring Indoor Cam (2nd Gen)
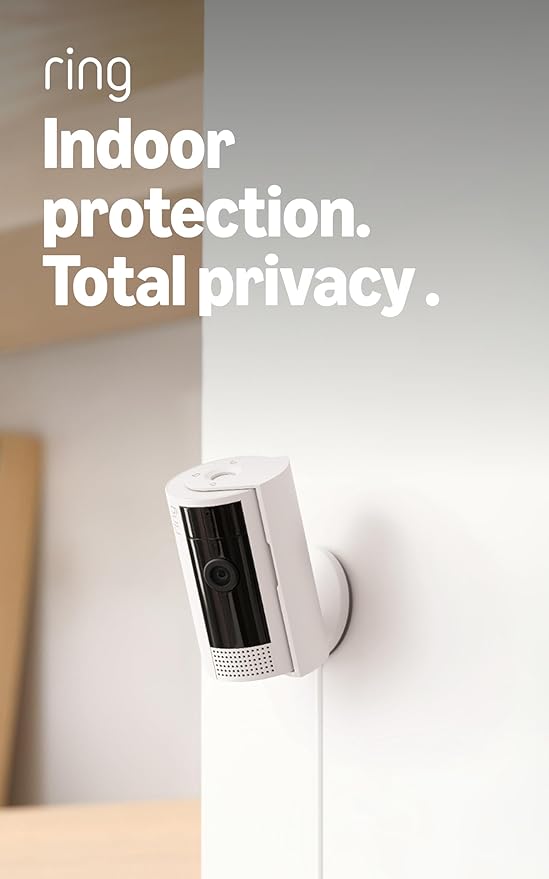
For homes already running Ring doorbells or Alexa Show displays, the Ring Indoor Cam sits flat on any shelf and shares the same app, motion zones, and shared-user model. A single drywall screw is the manufacturer mount, but a 3M Command Medium strip on a smoothing pad (see Method 1) carries it easily. View the Ring Indoor Cam on Amazon.
![Furbo Mini 360° [New] 2K QHD Pet Camera: Dog & Cat Rotating Treat Dispenser w/Phone App, Smart Indoor Cam with 2-Way Speak...](https://petmonly.com/aimg/images/I/71-I1IRCtfL._AC_SL1500_.jpg)
Blink Mini 2K+ Plug-in
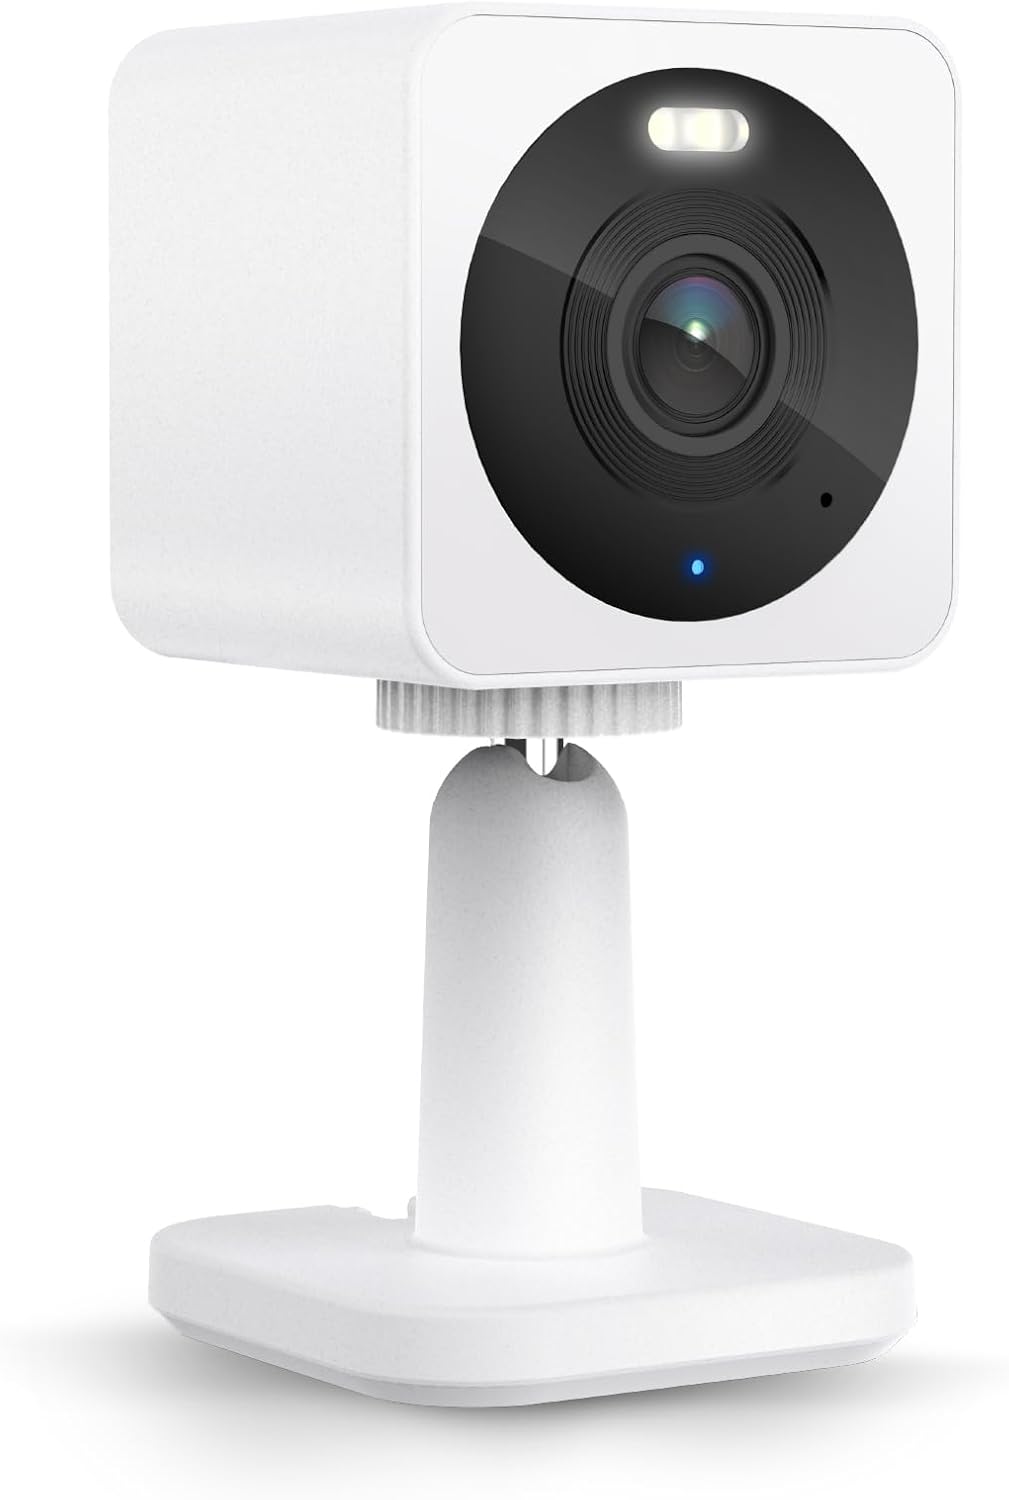
The lightest camera on this list at 0.18 lb, the Blink Mini 2K+ disappears on a bookshelf and runs from a USB-C wall wart. Its low weight is the secret weapon for stucco: a single Command Mini strip directly on the textured wall actually holds because the load is so small. Great as a secondary angle next to a treat-tossing Bites 2 you put on a tabletop. Check the Blink Mini 2K+ on Amazon.
Furbo 360° Dog Camera
If the treat-tossing feature is the only reason you bought the Bites 2, the Furbo 360° is a same-category competitor that is designed to sit on the floor or a low table—no wall mounting expected, ever. It rotates a full 360°, throws treats, and pushes barking alerts to your phone. For stucco homes this is the lowest-friction path to keeping the treat-toss workflow. See the Furbo 360° on Amazon.
Step-by-step: the adhesive-pad install we recommend
Assuming you are committed to keeping the Petcube Bites 2 and you want it on the stucco wall, here is the exact sequence we use:
- Choose a low-traffic spot. Aim for a corner the pet cannot jump toward. Treat-toss recoil is small, but a curious cat batting the unit can pop a marginal adhesive bond.
- Clean the texture. Vacuum the area with a brush attachment, then wipe with 70% isopropyl alcohol on a microfiber. Let it dry 10 minutes—stucco wicks moisture and the bond will fail if you rush.
- Build the smoothing pad. Cut a 4×4 inch tile or acrylic square. Apply UGlu Dashes or removable mounting putty in a grid across the back. Press the pad onto the wall for 30 seconds, working it into the texture valleys.
- Wait 24 hours. Letting the putty layer relax into the texture dramatically increases bond strength.
- Apply VHB tape or Command XL strips. Use four strips arranged in a square pattern, then mount the Bites 2’s wall plate.
- Cure for another 24 hours before loading treats. Most adhesive failures we see happen because someone hung the camera and immediately stuffed it with kibble. Patience prevents tears—literal ones, on hardwood floors.
When removal time comes, peel the Command tabs slowly at 45°, then warm the putty layer with a hair dryer and roll it off with your fingertips. You should leave behind nothing but a faintly cleaner square of stucco that blends after one rainfall outdoors or a light wipe indoors.
When you should just call a handyman
If the Petcube absolutely must hang in a high-traffic hallway where adhesive isn’t safe, a stucco-savvy handyman can drill two pilot holes using a masonry bit at very low RPM, insert plastic anchors with epoxy, and seal the perimeter with matching texture spray. Budget $80–$150. Done right, this is reversible-ish: when you sell the house, the same handyman can patch and re-texture. Done wrong (high-RPM hammer drill, cheap anchors), you will fight cracks for years. The no-damage methods above remain our recommendation in the vast majority of cases.
For more on cameras that play nicely with rental homes, see our guides to the best no-drill pet cameras for renters, Petcube Bites 2 vs Furbo 360° treat-tossing comparison, and the best pet cameras for stucco and brick homes.
Frequently Asked Questions
Can I use Command strips alone to mount Petcube Bites 2 on stucco?
Not reliably. Command strips need at least 80% contact with a smooth surface and textured stucco provides closer to 15%. You can mount Petcube Bites 2 stucco wall no damage with Command strips only if you first install a smooth bonding pad (acrylic, tile, or sanded plastic) onto the stucco using removable putty, then apply the Command strips to that pad. Otherwise the camera will detach within days.
Will drilling stucco for a pet camera void my rental deposit?
In most U.S. residential leases, yes. Stucco patching is classified as specialty repair and landlords typically charge $75–$200 per hole because matching the texture requires spray gear. Renters should default to adhesive or freestanding methods. If you own the home, drilling is fine as long as you use proper masonry anchors at low RPM and seal the perimeter.

How much weight can stucco hold with no-damage adhesive methods?
Our Method 1 (smoothing pad + VHB tape) reliably holds 3 pounds in 24–72°F interior conditions. That is roughly double the Petcube Bites 2’s loaded weight, giving you a safety margin for the treat-toss recoil. Outdoor stucco in direct sun can hit 140°F and adhesive limits drop sharply, so we don’t recommend exterior adhesive mounting at all.
What is the best pet camera for stucco homes if I skip the Petcube?
The Tapo 2K Pan/Tilt and eufy E30 4K are our top picks because they are designed to sit on tables and shelves, eliminating the mounting question entirely. Both offer wider fields of view than the Petcube Bites 2 and avoid the stucco-drilling problem completely.
Can I mount a pet camera on stucco ceiling instead of the wall?
Technically yes, but we strongly recommend against it. Ceiling stucco is even more brittle than wall stucco because it is unsupported by gravity-loaded lath. Any camera that falls from a ceiling can injure pets below. If a high vantage is the goal, use a tall bookshelf or a tension pole instead.
Does the Petcube Bites 2 come with a no-drill mount option?
As of 2026, the included accessory kit is a screw-anchored wall plate plus a tabletop foot. There is no first-party adhesive mount. You can use the tabletop foot directly on a shelf, which is by far the easiest workaround for stucco-walled homes.
How do I remove adhesive residue from textured stucco without staining it?
Peel slowly, then warm any leftover putty or tape residue with a hair dryer on medium for 30 seconds and roll it off with a clean fingertip. Avoid solvents like Goo Gone—they soak into the porous finish coat and leave permanent dark halos. A final wipe with a barely damp microfiber removes any haze.
Key Takeaways
- Choosing the right mount petcube bites 2 stucco wall no damage means matching capacity and output ports to your actual devices
- Always check actual watt-hours (Wh), not just watts — runtime depends on Wh, not peak output
- Also covers: petcube bites 2 stucco mounting guide
- Also covers: no-drill petcube bites stucco install
- Also covers: stucco wall pet camera mount
- Compare price-per-Wh across models to find the best value for your budget